How to Build a Home Server on a Budget (complete guide)
How to Build a Home Server on a Budget (A Complete Guide)
Have you ever wanted your own personal cloud, a place to store files, or a media center for your home? A home server is the answer, and you don't need a lot of money to build one. This guide will show you how to take a simple, affordable computer and turn it into a powerful server for your home.
What You'll Need
The beauty of a budget home server is that you probably have most of the parts already.
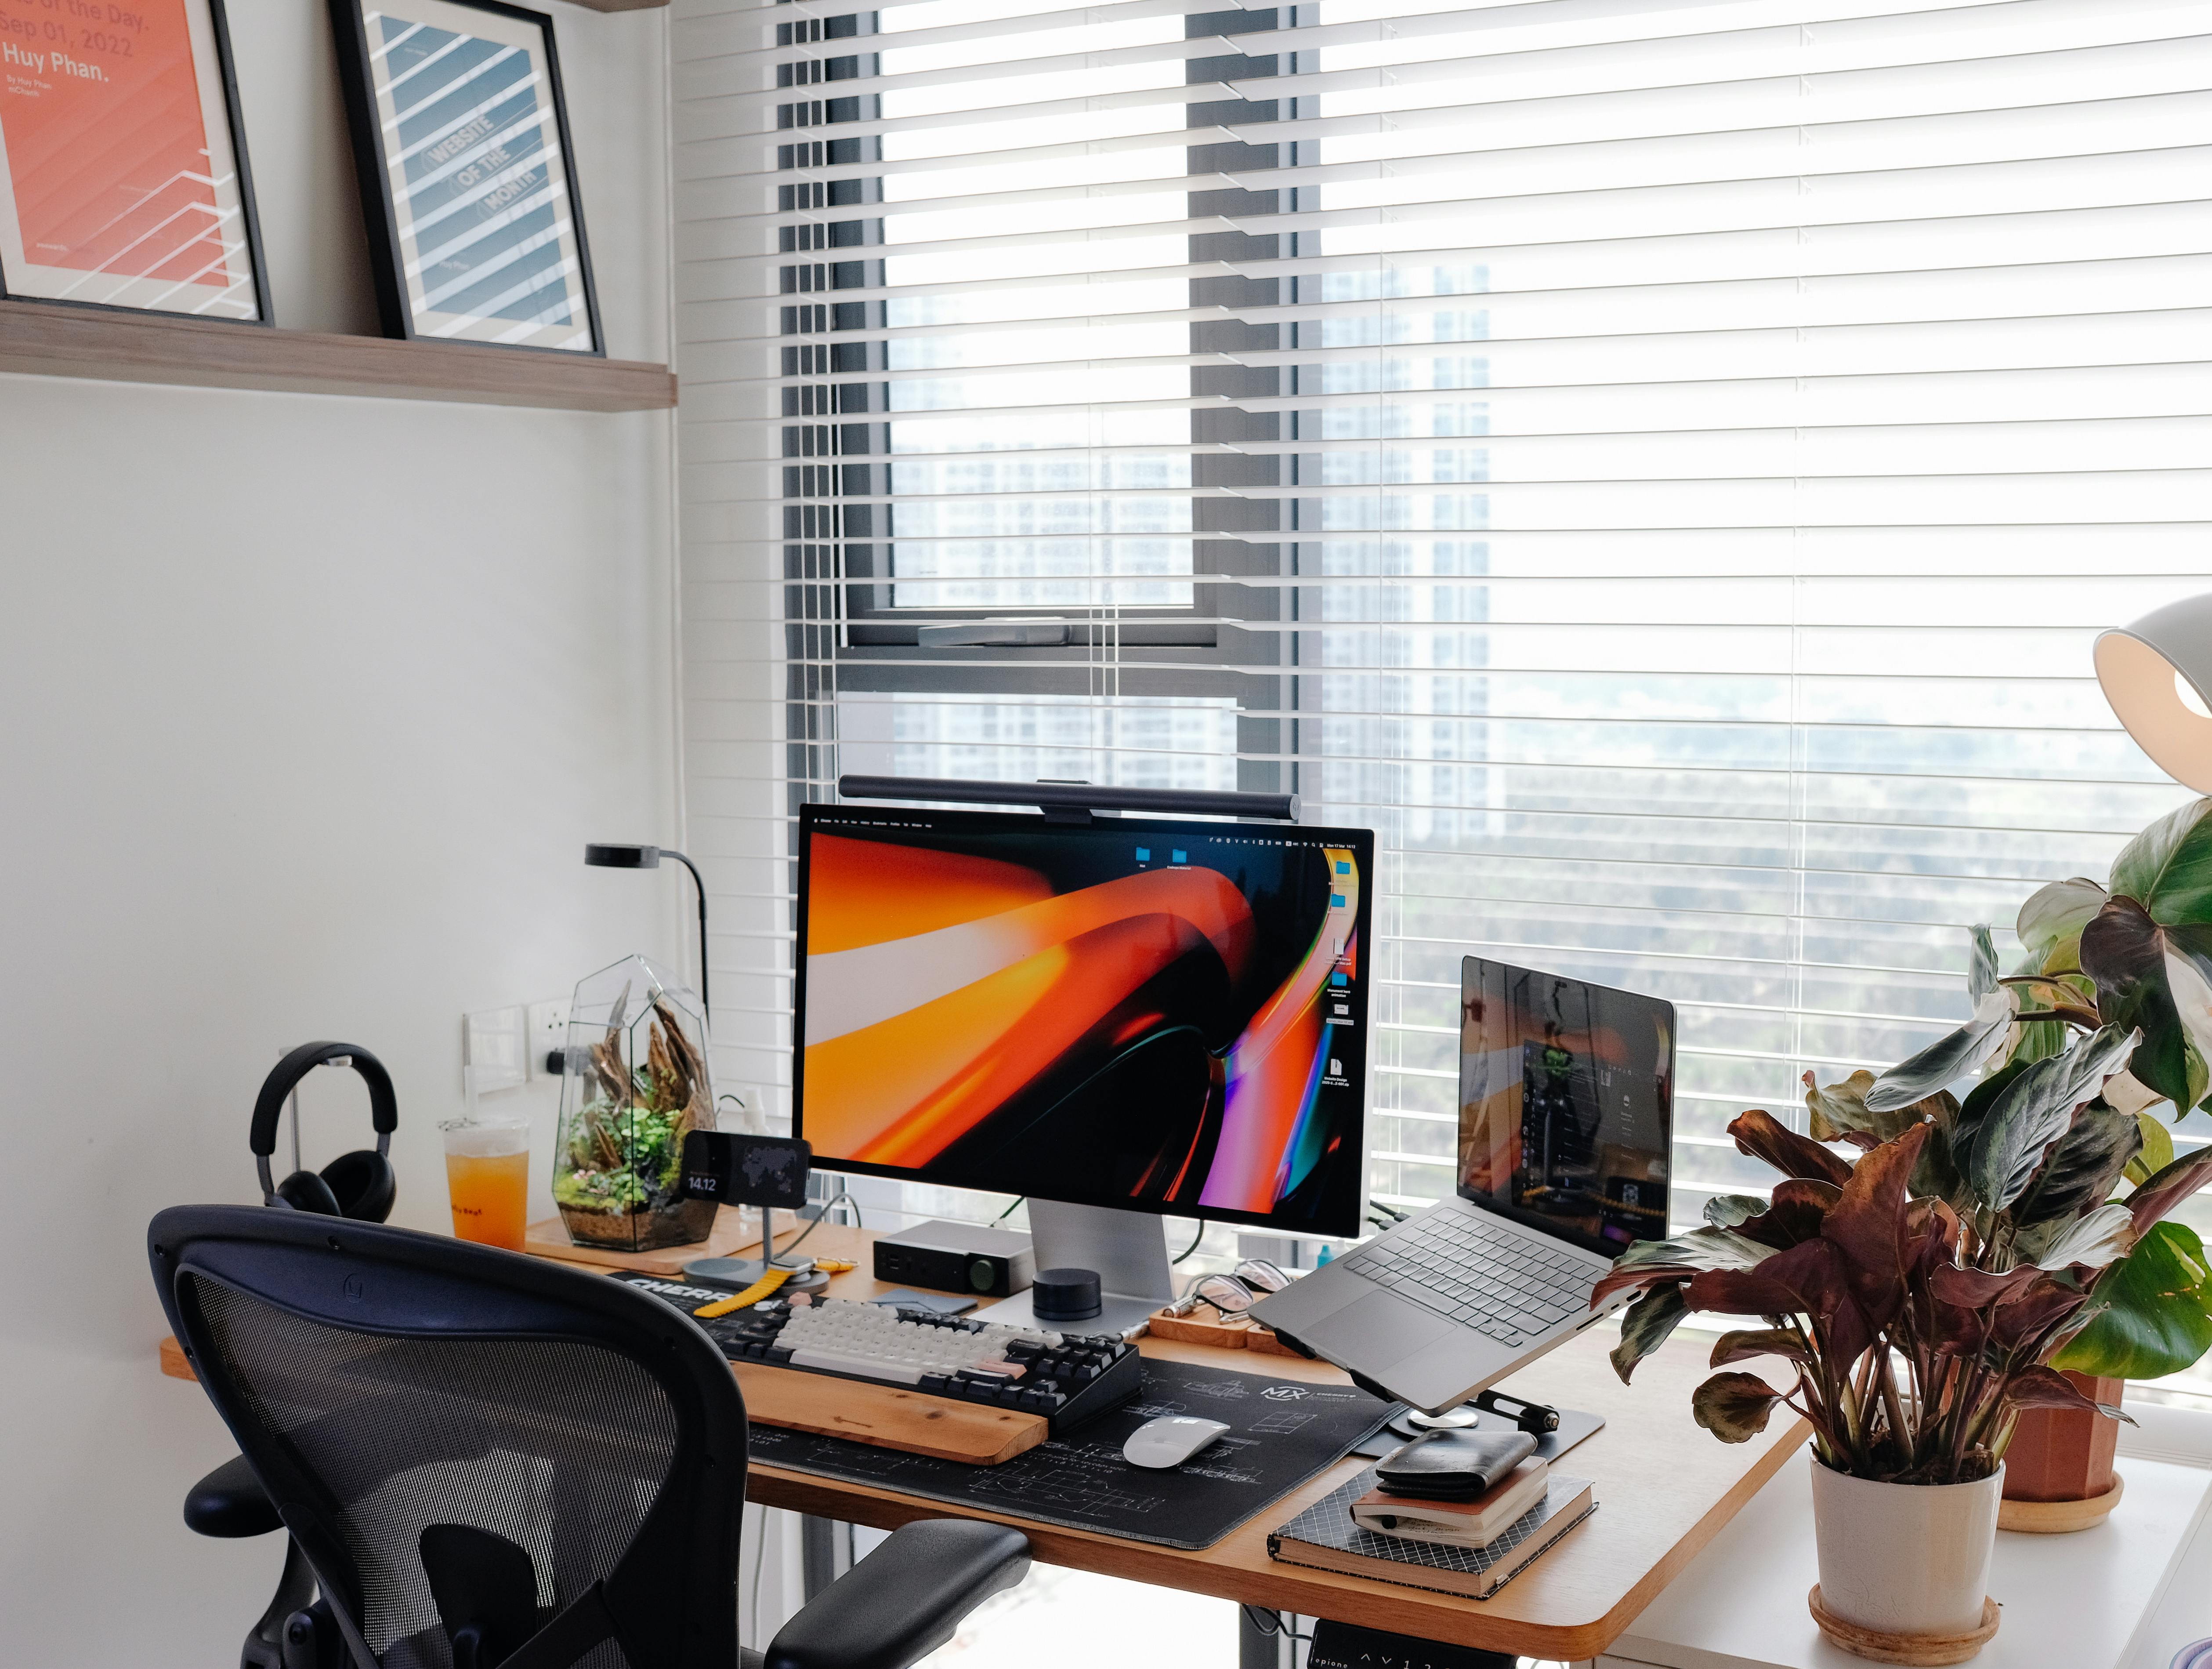
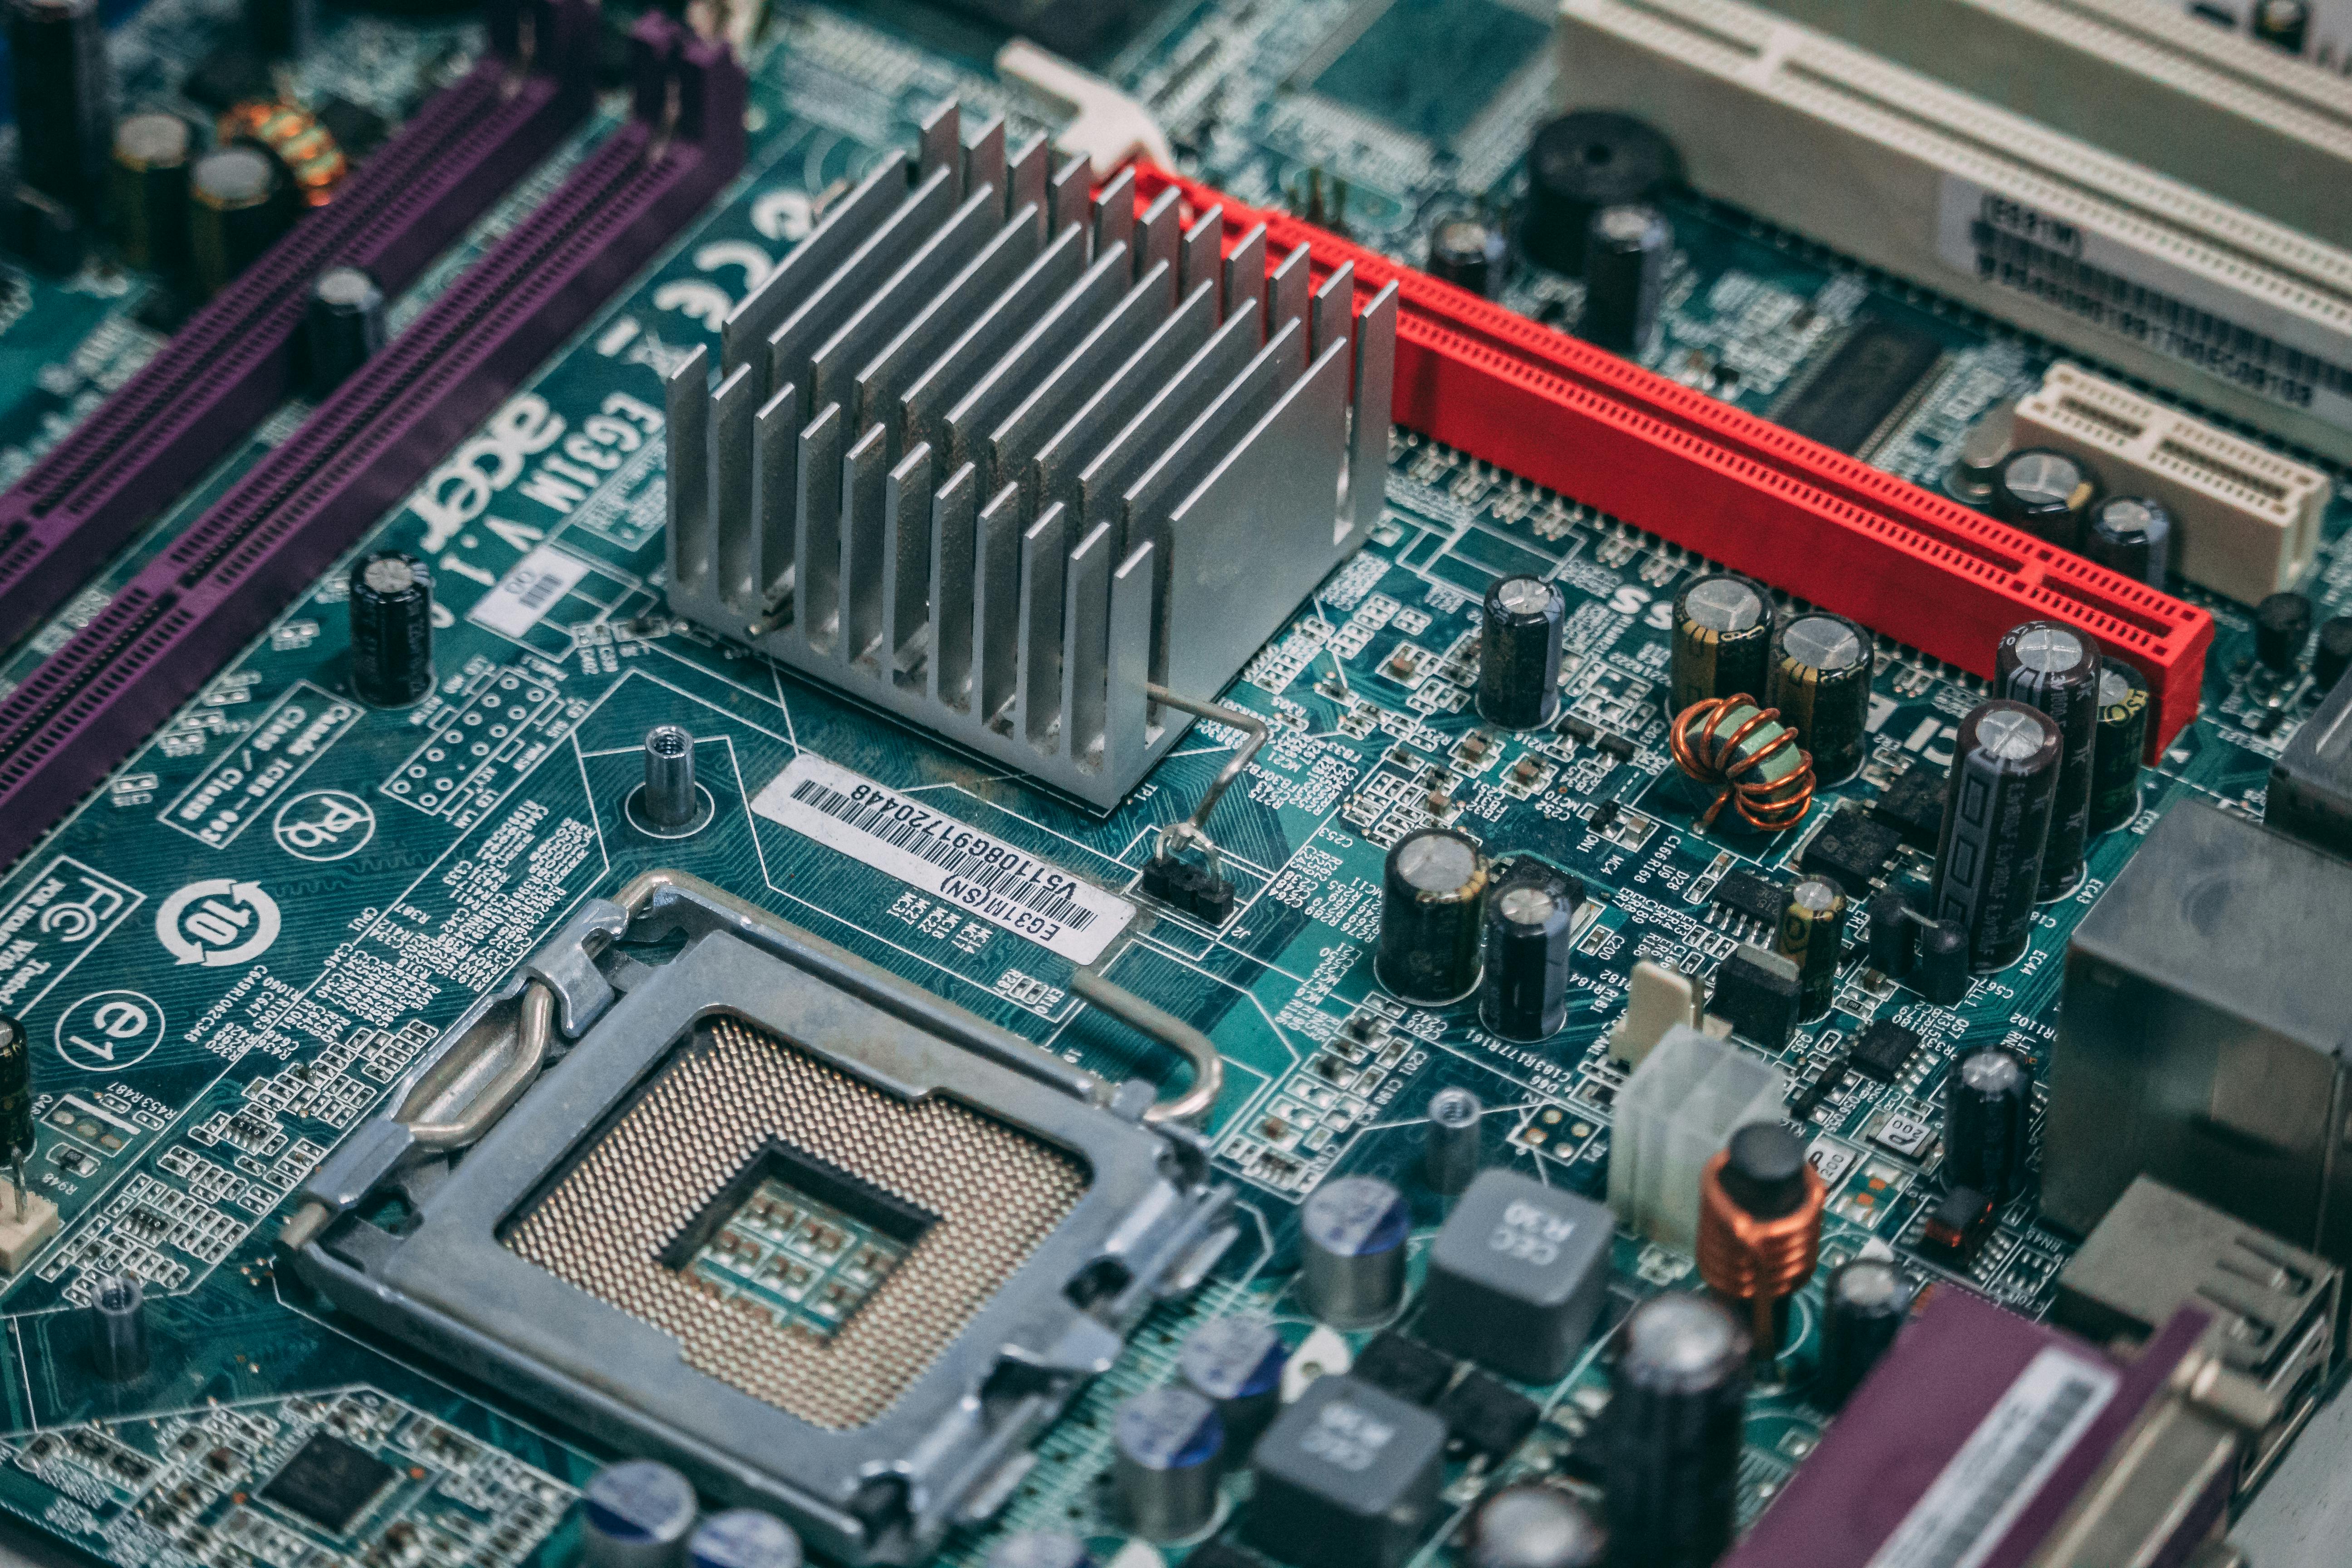
- A Small Computer: An old desktop, a laptop you no longer use, or a low-cost single-board computer like a Raspberry Pi are perfect. You don't need a powerful machine; an old computer with 4GB of RAM and a dual-core processor will work just fine.
- Storage: A hard drive or solid-state drive (SSD) to store your files. An old drive you have lying around is a great starting point.
- Power & Ethernet Cables: You'll need these to power the computer and connect it to your home router.
- Keyboard, Mouse, & Monitor (for initial setup only): You'll only need these for the first part of the installation. After that, you'll be able to manage the server remotely from your main computer.
Choosing Your Software
For a budget server, the most important software decision is the operating system (OS). We want something lightweight, free, and easy to use.
- Linux: This is the best choice for a home server. It's free, very stable, and doesn't require a powerful computer.
- Ubuntu Server: This is the most popular and easiest-to-use option for beginners. It doesn't have a graphical interface, which saves a lot of resources for your server tasks. Don't worry, you'll manage it from your main computer using simple commands.

Step-by-Step Guide
Step 1: Install the Operating System
- Download Ubuntu Server: Go to the official Ubuntu website and download the latest version of Ubuntu Server. It will be a `.iso` file.
- Create a Bootable USB Drive: You need to put the Ubuntu `.iso` file onto a USB drive. You can use a free tool like Etcher for this.
- Install the OS: Plug the USB drive into your server computer. Start the computer and make sure it boots from the USB drive (you might need to change the boot order in the BIOS/UEFI settings). Follow the on-screen instructions to install Ubuntu Server.
Step 2: Configure Your Network
After the OS is installed, you need to set up the network so you can access the server from your main computer.
- Find Your Server's IP Address: Once you're logged into the server, type the command `ip addr` to find its IP address. It will look something like `192.168.1.105`.
- Set a Static IP: It's a good idea to set a static IP address for your server. This way, the IP address won't change, and you'll always be able to find it. You can do this in your router's settings.
Step 3: Connect Remotely
Now you can get rid of the monitor, keyboard, and mouse! You'll manage the server using a tool called SSH (Secure Shell).
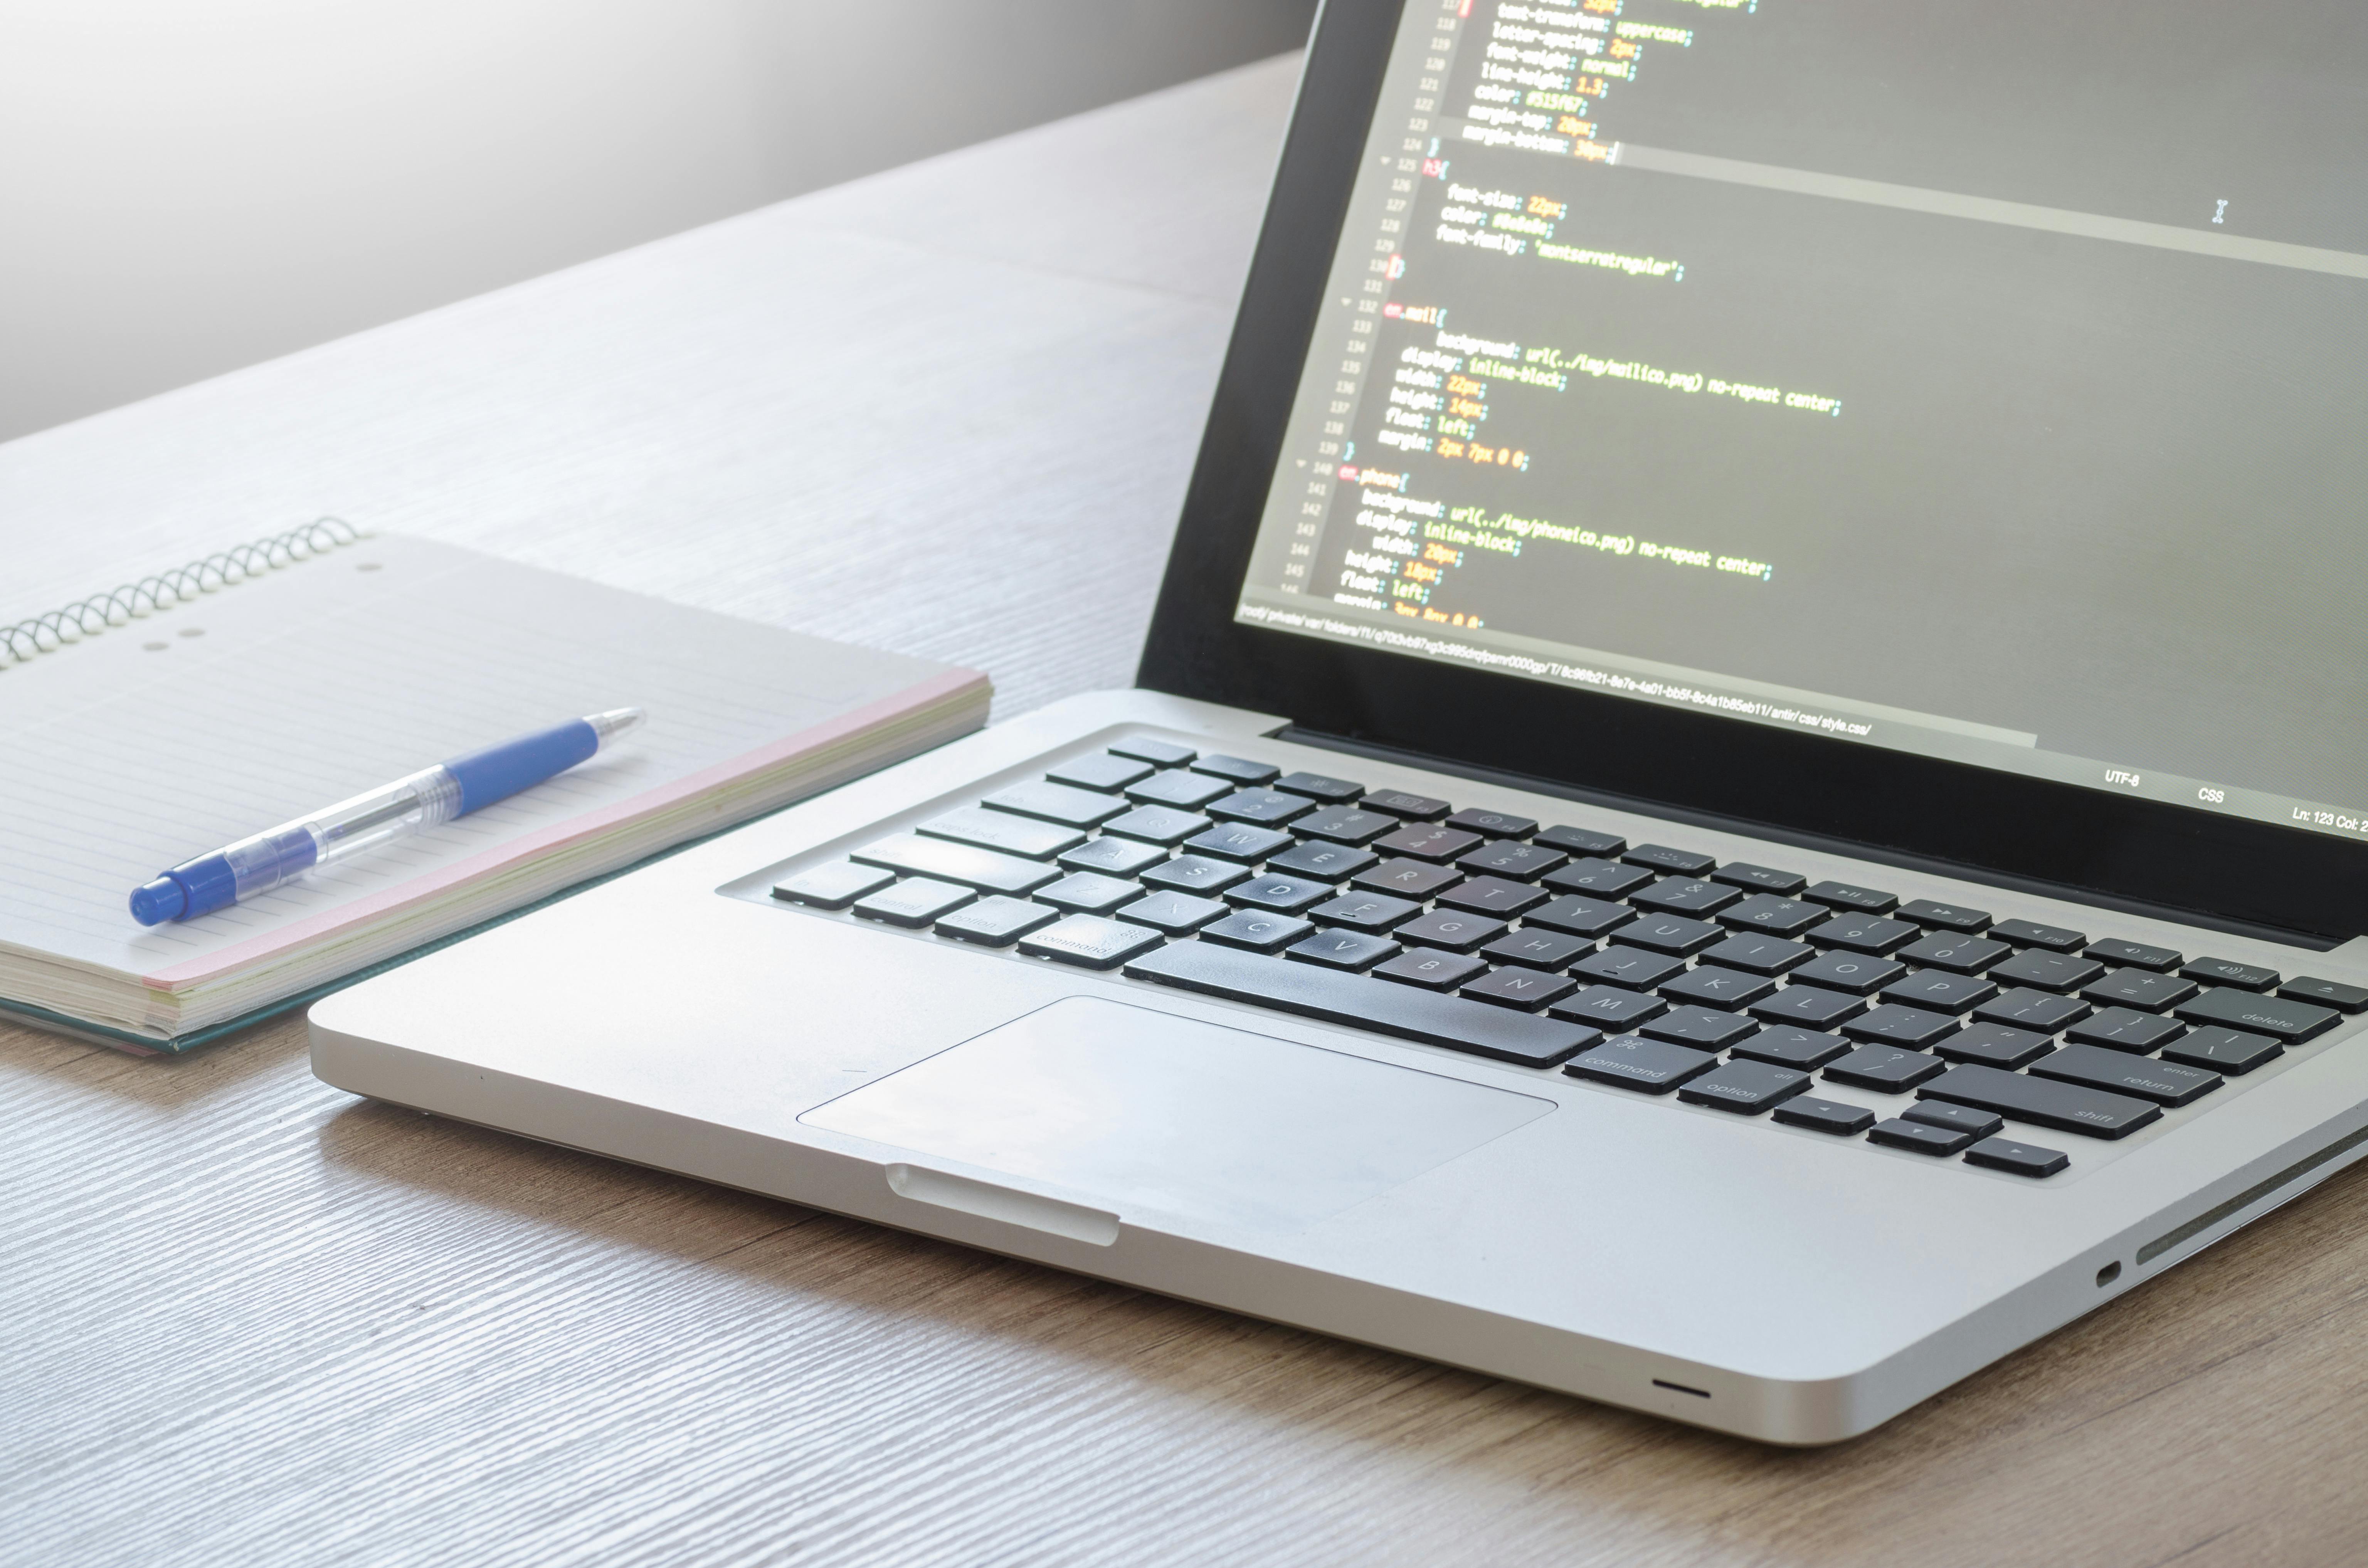
- Open a Terminal: On your main computer, open the Terminal (on Mac/Linux) or PowerShell/Command Prompt (on Windows).
- Connect to Your Server: Type the command `ssh your_username@server_ip_address`. Replace `your_username` with the username you created during the Ubuntu install, and `server_ip_address` with your server's IP address.
- Start Managing: You're now connected! You can run commands and manage your server just like you would if you were sitting in front of it.
Step 4: Add Your First Service (File Sharing)
Let's turn your server into a file storage center using a tool called Samba. This lets you share files with other devices on your home network.
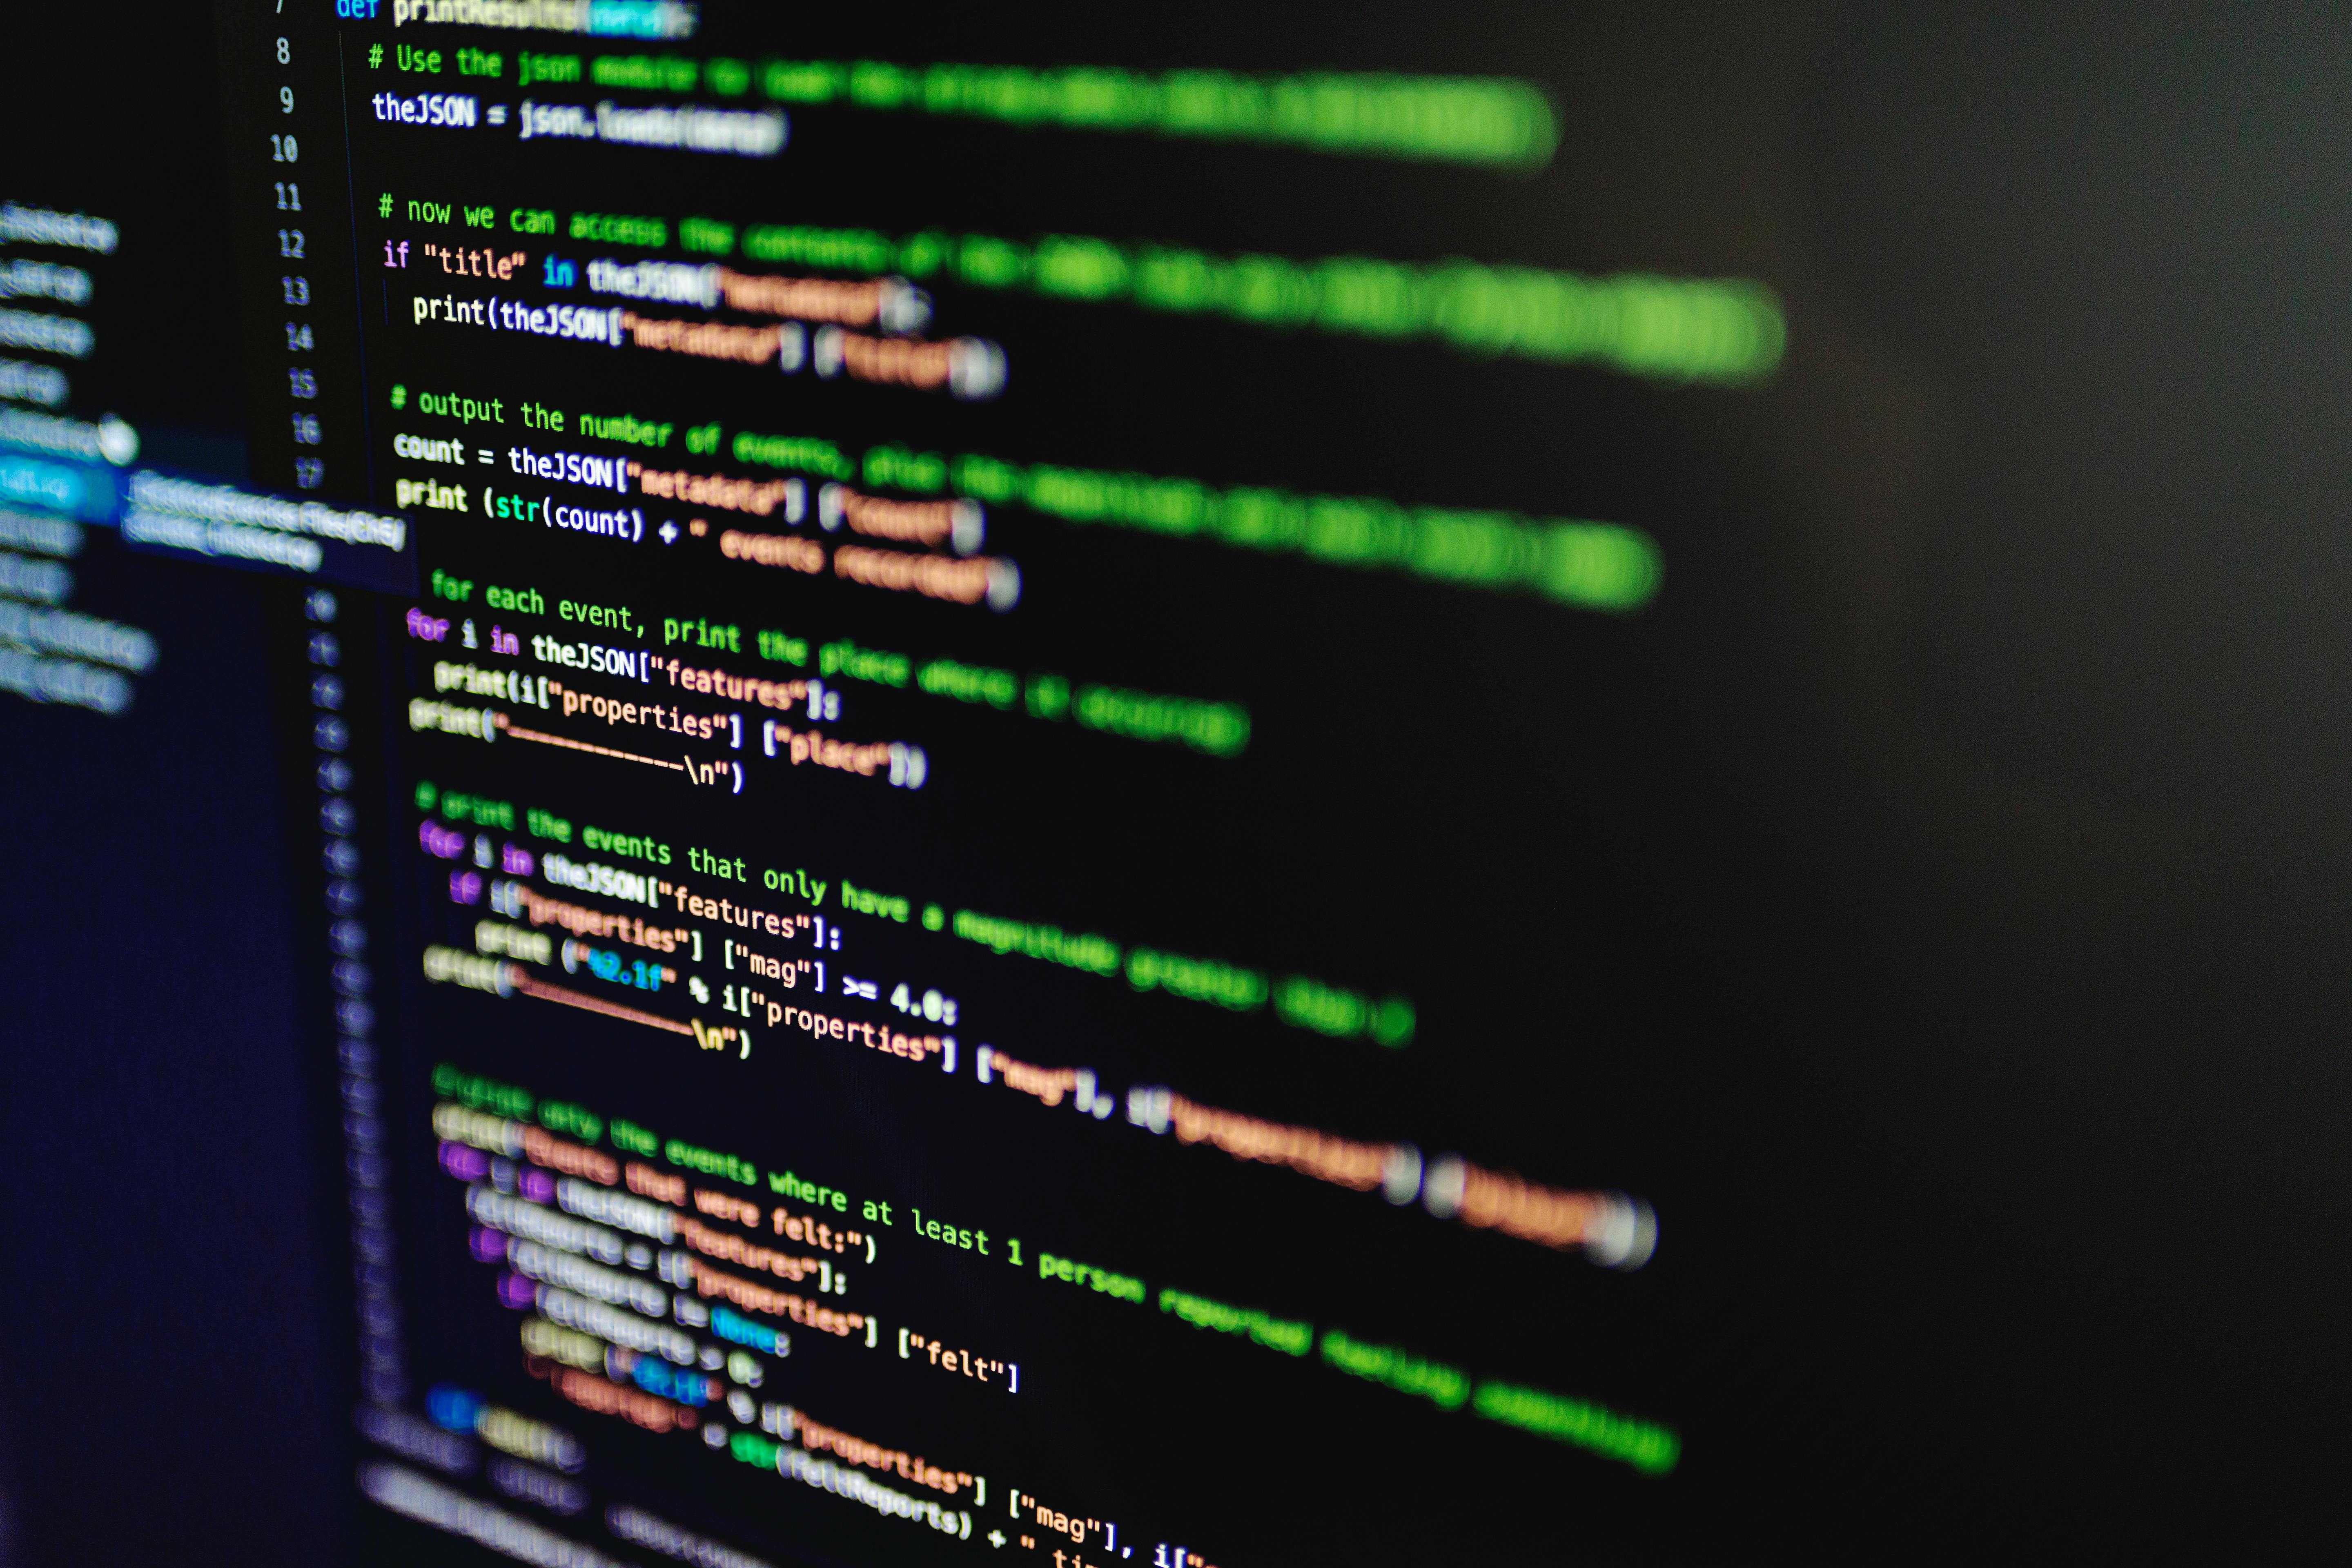
- Install Samba: In your SSH terminal, type `sudo apt-get install samba`.
- Create a Shared Folder: Create a folder where you want to store your files. For example, `mkdir /home/your_username/share`.
- Configure Samba: You'll need to edit a configuration file. This is the most technical part, but a quick search for "Samba Ubuntu server tutorial" will give you the exact steps and code you need.
Sample Budget Breakdown
| Item | Cost (estimated) |
|---|---|
| Old Desktop/Laptop | $0 |
| Raspberry Pi 5 | ~$80 |
| Used SSD (500GB) | ~$30 |
| Total | $30 - $110 |
Conclusion
Building a home server is a fantastic way to learn about technology and take control of your own data, and it's proof that you can accomplish amazing things without spending a lot of money. You've taken the first big step by learning how to code; now you can use that knowledge to build powerful tools that will change how you use technology. You are now officially a builder, a creator, and an innovator.
Happy building!


Comments
Post a Comment